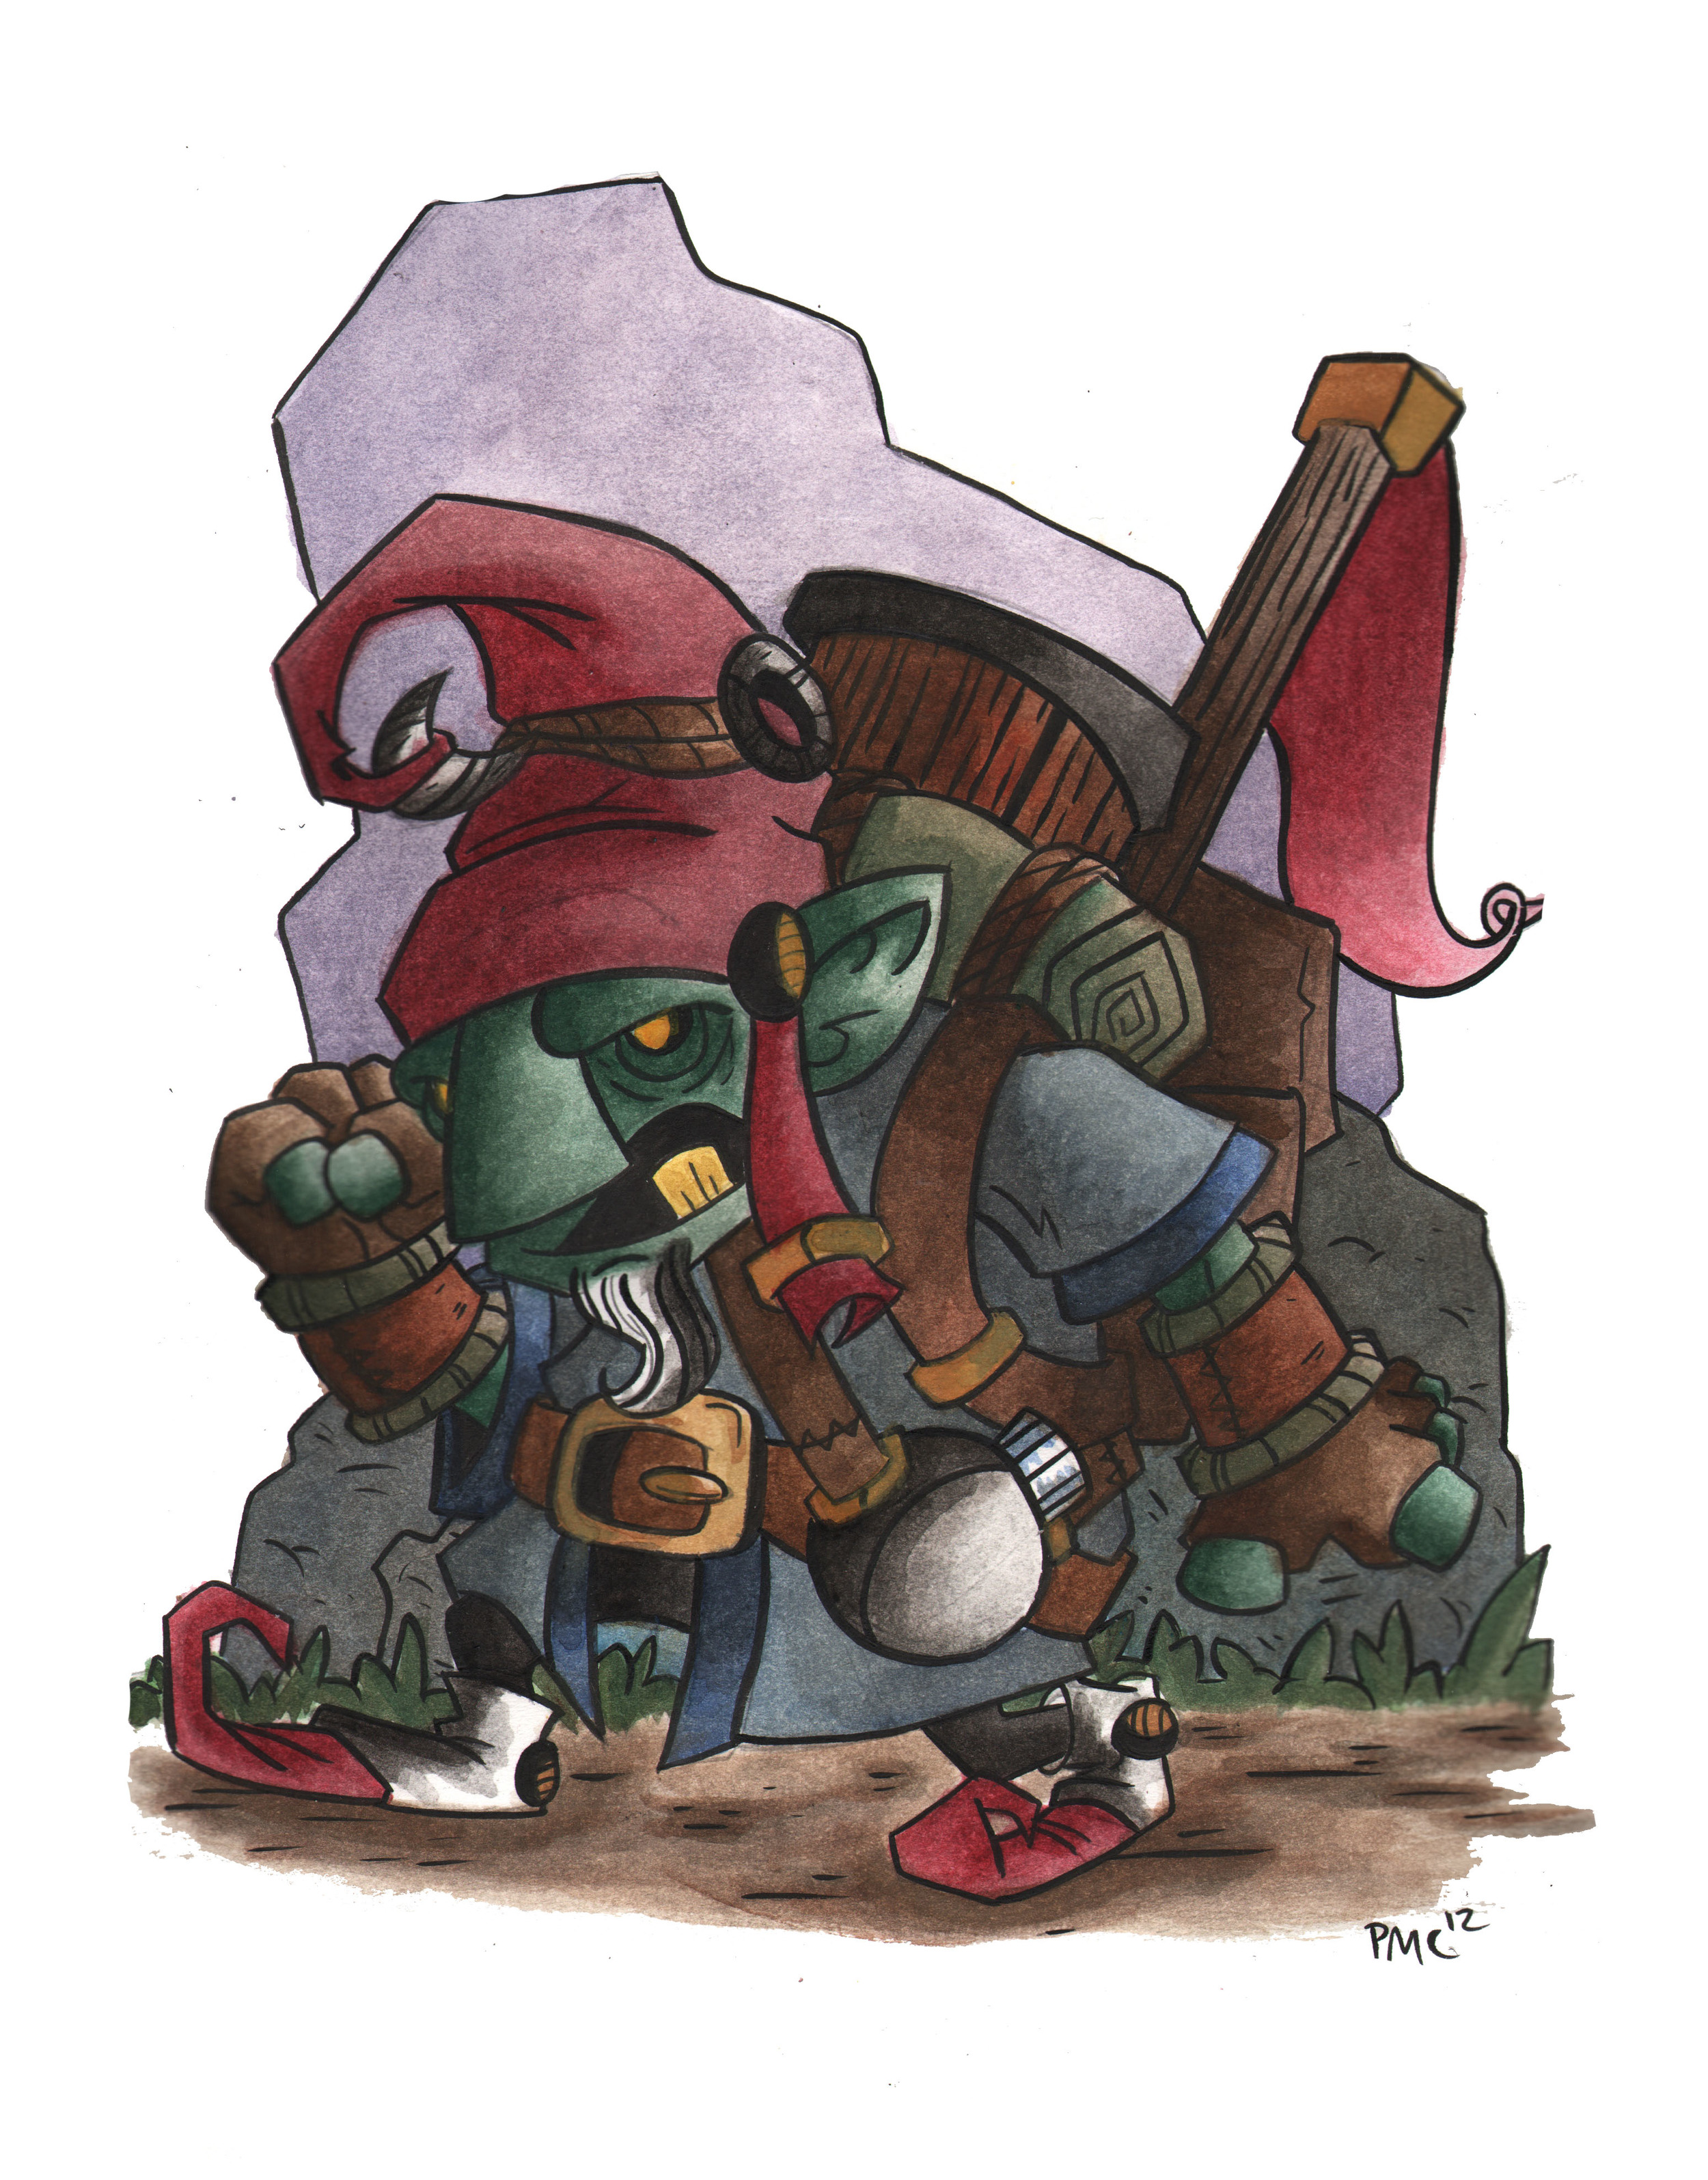
An illustration, for me, always starts with an idea. It doesn't have to be earth shattering but has to have enough content to create an image. During the Hurricane in late October/ early November, I wasn't able to work on any of my school projects. So it was a create time to catch up on some personal work. In my sketch book I drew this goblin.
This sketch was created after a few pages of drawing expressions, poses, and props. I like to have a collection of references I can look at when I create a sketch for a painting. Most of the time they are my own drawings, but sometimes I use photos of things I've never seen before so I know that it will be drawn correctly.
After the sketch is done, I use a light box to trace the image onto watercolor paper. Light boxes help reduce the time of transfering the image, I don't want to spend 2 hours redrawing the image on a sturdier surface. Next I ink the sketch.
Many people ink with different things. I have used pens and nibs, but I like to use a brush. The brush I like is a synthetic round 0, its small, nimble, and can create varied line weights. My favorite ink to use is FW, I use nothing else. FW gives true black lines, it doesn't fade to gray and is waterproof. Let it dry for an hour, while setting up to paint.
For my watercolors I use Winsor Newton. It's better to spend money on tubes with good pigments then to waste money of cheaper brands with little or bad pigments. I haven't had to buy a new tube in 2 years, as long as a palette is used, its easy to save and reuse watercolor.
This is the illustration after I have built up enough pigments to create a base layer that I will then render on top of. I don't let alot of the paper show threw my paints. I like a more bold painting style. The basing can take a while. It's all about waiting for layers to dry in order to build up a layers so its flat and even. But most importantly patience.
After rendering on top of the base coats its finished. Once again this involves lots of patience since building up solid layers takes awhile. I spent a few hours on and off the piece to make sure the paper is dry before creating a new layer. A good way to save alot of time is to use a brush that is proportional to the are you are painting. So in the beginning I start with a large brush, then moves to a small brush at the end when I am ready to put down a high amount of pigment to a small area. Now I have a finished portfolio piece, this personal piece was started in October of 2012 and finished in January of 2013.


